

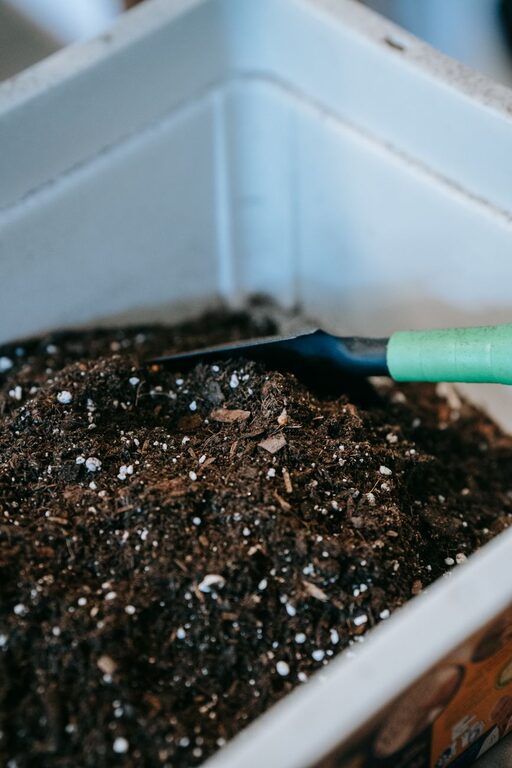
Composting at home is a rewarding way to reduce waste and enrich your garden soil naturally. If you’re new to composting, the idea might seem a bit overwhelming. But with a few simple tips and a bit of patience, anyone can start turning kitchen scraps and yard waste into dark, crumbly compost that helps plants thrive. In this guide, we’ll walk you through the basics of home composting, including what to compost, how to build and maintain your compost pile, and common troubleshooting tips.
Why Compost at Home?
Composting helps reduce the amount of garbage sent to landfills and lowers greenhouse gas emissions. It also creates a valuable soil amendment that improves soil structure, retains moisture, and provides essential nutrients to plants. By composting at home, you contribute to a healthier environment while also supporting your garden.
Getting Started: What You Need
Before you begin, gather a few basics:
– A compost bin or designated compost area: This can be a purchased bin, a DIY bin, or simply a pile in your backyard.
– Kitchen scraps: Fruit and vegetable peels, coffee grounds, eggshells.
– Yard waste: Dry leaves, grass clippings, small twigs.
– Water: To keep the pile moist.
What Can and Cannot Go into Your Compost
Materials to Compost (Greens and Browns)
Successful composting relies on balancing two types of materials:
– Greens (Nitrogen-rich): These include fresh kitchen scraps like vegetable and fruit peels, coffee grounds, tea bags, and fresh grass clippings.
– Browns (Carbon-rich): Dry leaves, shredded newspaper, cardboard, straw, and small branches are great browns.
Avoid Composting These
– Meat, dairy, and oily foods (can attract pests and cause odors)
– Diseased plants or weeds with seeds (may spread problems in your garden)
– Pet waste (can contain harmful pathogens)
Step-by-Step Guide to Starting Your Compost
1. Choose Your Compost Site and Container
Pick a spot in your yard with good drainage and some shade. If space is limited, consider a compost bin or a tumbler designed for small areas.
2. Layer Browns and Greens
Start by adding a layer of browns such as dry leaves or shredded paper. Next, add a layer of green materials. Alternate layers to maintain balance.
3. Keep it Moist and Aerated
Your compost pile should feel like a damp sponge — not too dry or too wet. Water it occasionally if dry. Turn the pile every week or two with a pitchfork or compost aerator to introduce oxygen, which speeds up decomposition.
4. Be Patient and Monitor
Decomposition can take anywhere from a few months to a year, depending on conditions. Hot compost piles break down faster but require more attention.
Tips for Maintaining Your Compost
– Chop or shred materials: Smaller pieces break down quicker.
– Balance greens and browns: Aim for about 2-3 parts browns to 1 part greens.
– Turn regularly: Aeration prevents odor and speeds up composting.
– Monitor moisture: Add water if dry, add more browns if too wet.
Using Your Finished Compost
Compost is ready when it’s dark brown, crumbly, and earthy-smelling. Use it as:
– A soil amendment mixed into garden beds or pots
– Mulch around trees and plants to retain moisture
– A natural fertilizer to boost nutrient content
Common Problems and Solutions
| Problem | Cause | Solution |
|—————–|———————–|———————————|
| Smelly pile | Too wet or too many greens | Add browns, turn pile, aerate |
| Slow decomposition | Too dry or compacted | Add water, fluff pile, add greens |
| Pests in pile | Meat or oily scraps | Remove scraps, use closed bin |
Final Thoughts
Home composting doesn’t have to be complicated. By following these beginner tips, you’ll create a sustainable cycle that reduces waste and nourishes your garden. Remember, every little bit helps, so start small and enjoy the process!
Happy composting!